HOME ABOUT ME PATTERNS/TUTORIALS FEATURED CONTACT ME

Thursday, June 27, 2013

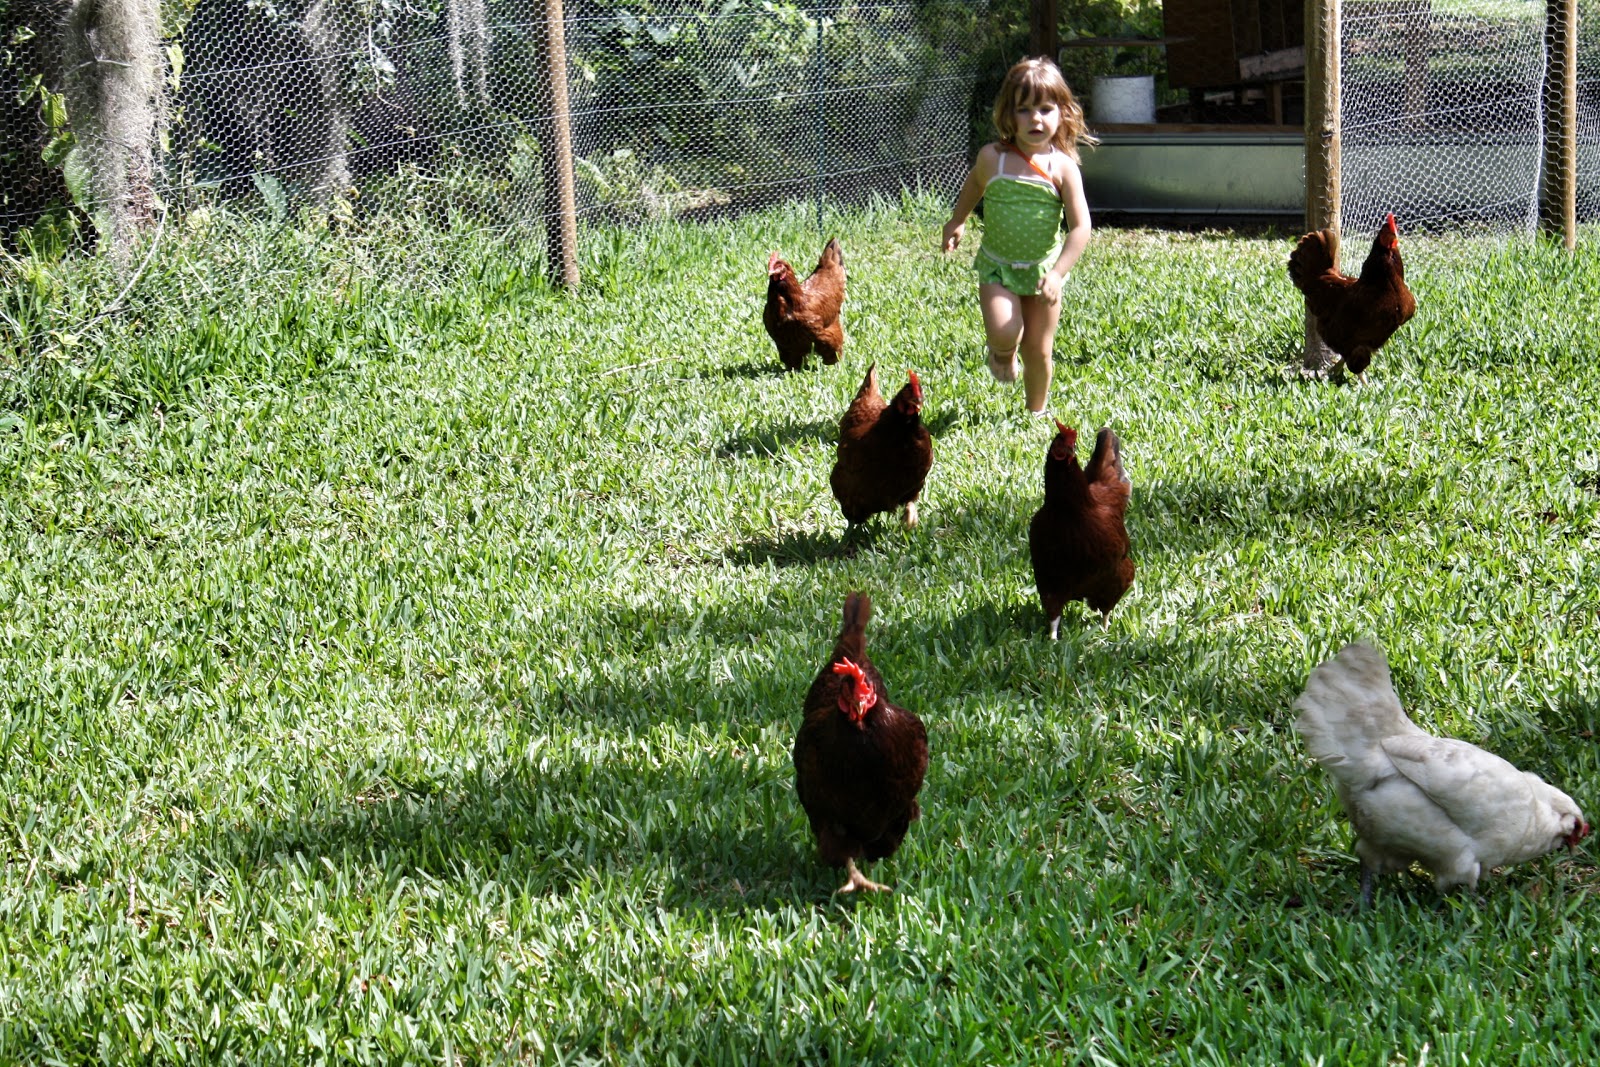
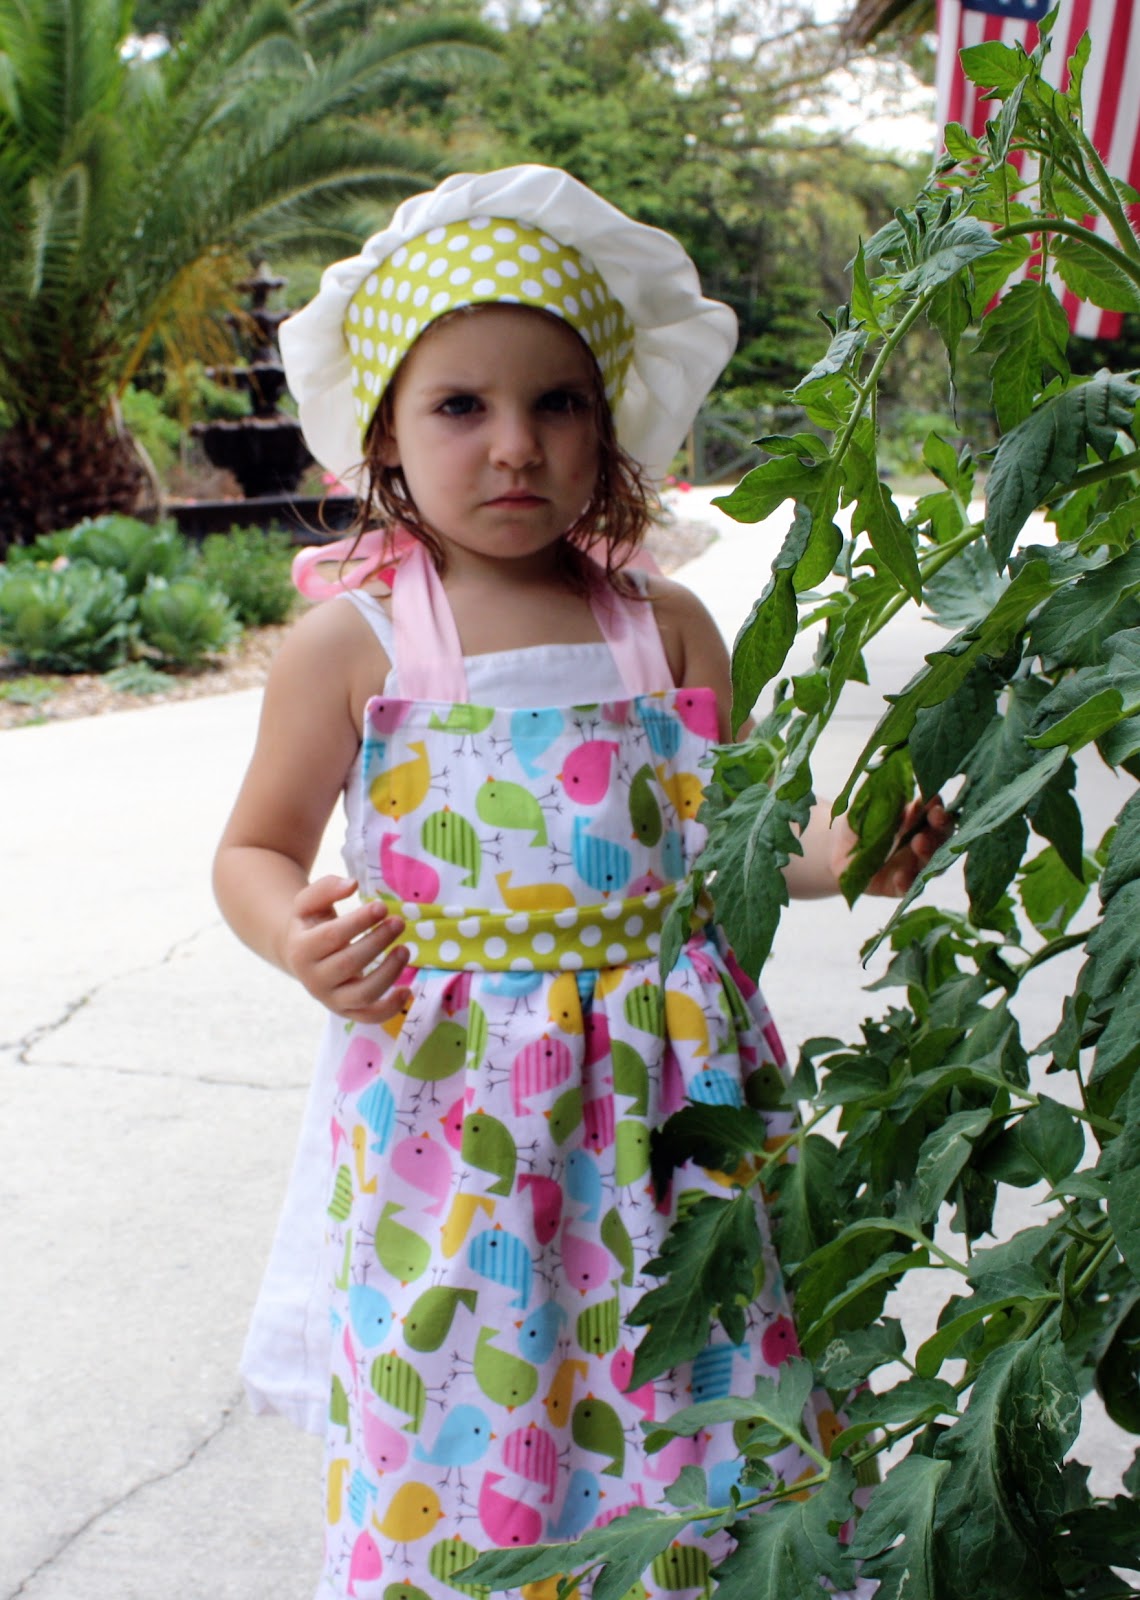
Fancy Farm Girl Dress and Edible Landscape Photos.


A Dress inspired by my lovely daughter in our garden that's growing as fast as she is. 
Pin It

Wednesday, June 19, 2013

Learning the art of carpentry early.

For Christmas my sweet hubby built the boys wood working stations. He had spent the year prior teaching the boys basic things about carpentry and felt it was time to produce a proper space for them to create. He did an amazing job!  It has everything they need to create at a comfortable kid friendly level.


Daddy helps with the hard cuts.

This is their miter saw table. 


Mason is hiding money in his.

I know it looks a total mess but if you went into my sewing room you would say the same thing when I'm in the middle of projects, which is most of the time, so I can appreciate the beauty in this mess of ideas not fully brought to fruition.  They are building rocket ship toys with secret hidden compartments in these photos.  I love their imagination!


Here are a few other things they have created.  Most of what they make they make on their own.  Nate made me the doll house bed for Christmas and the boat and car were a rainy day project when mom and dad were busy with their own chores and projects.  Our house is full of these handmade treasures and I love nothing more than to see my kids playing with something they made with their own hands!


Ephesians 5:15-17
Look carefull then how you walk, not as unwise but as wise, making the best use of the time, because the days are evil.  Therefore do not be foolish, but understand what the will of the Lord is.
Pin It

Monday, June 10, 2013

Summer Homeschool Days


This is a pellet from a bird and we found a mouse skeleton when we opened it.
Summer months are some of my favorite learning at home months.  All the extra activities that take us out of the house have ended and I find that there are many hours in the day to do the things we need to do and want to do.  Nature study is always a great start to our mornings.

We started Spanish using La Clasa Divertida which is proving to be a really fun curriculum for all of us to use together.  It came with crafts to do after each lesson which I thought was a bit cheesy but the boys have been really enjoying them and they are able to do them on their own.  I use this busy time to play Maestro Classics and audio books as background entertainment. 

The house is a beautiful mess of books, puzzles, crafts, and small treasures collected from outside and our days are spent moving around all corners of this home working our way through different subjects together. 


A friend gave the analogy that homeschooling is like a faucet that drips.  If you place a bucket under it the water will fill slowly but will eventually overflow.  That's how we are spending our summer together.  Reading lots of books, playing with numbers, practicing music, exploring God's creation, depositing knowledge and love into each other one drip at a time.  Pin It

Wednesday, May 29, 2013

Organic Grapefruit Thyme Marmalade Recipe

We have a beautiful grapefruit tree that produces more fruit than we can handle so I'm working on ways to put it to use.  Here is a fabulous grapefruit thyme marmalade recipe I came up with.  It is an unusual combination but oh so yummy!  Something about adding thyme makes it breakfast worthy but also gourmet appetizer worthy at the same time.  I hope you enjoy it as much as we are!

Grapefruit Thyme Marmalade:
  • 8 medium grapefruit.
  • 1 medium lemon.
  • Zest of lemon and 1/2 grapefruit.
  • 7.5 cups organic can sugar.
  • 1 medium apple.  I used Red Delicious.
  • 20-30 sprigs of thyme.  1 package if purchasing from market.
  • 8 8oz mason jars.
Peel and core apple and chop into small cubes.  Zest lemon and half of grapefruit.  Juice grapefruit and lemon by hand including as much pulp as possible without getting any white grapefruit rind.  Gently glide thyme leaves off stem.  Place all ingredients in a medium pot on stove on high heat and cook for approximately 40 minutes making sure not to burn bottom.  It will have a lot of liquid that needs to be cooked down so about 20 minutes into cooking check by placing a spoon full in the freezer to see if it sets when cooled.  If you want a thicker consistency and it's not cooking down you can add another apple.  The apple is replacing the need for processed pectin.  The grapefruit skin also has pectic and will help it set as well as help lower your cholesterol......just thought I'd throw that in. 

Spoon into sterilized jars and bathe in boiling water for approximately 12 minutes.  Listen for jars to pop after pulling them out.  If a jar doesn't seal than place in fridge to be used. 

I would love to hear how your Grapefruit Thyme Marmalade turns out! 


Pin It

Sunday, May 19, 2013

Sewing in memory of Kathreen from Whipup

Saturday I was browsing all my favorite blogs in search of something to make 2 sweet little twin girls for their 3rd birthday when I came across the tragic news that Kathreen, founder of Whipup, and her partner Rob were killed in a car accident while vacationing in Australia with their 2 children.  You can read about it here. 

I was so saddened by this news.  I don't know the family personally but in this crafty blog world we share it can feel personal at times.  We share about our lives and our families and feel touched and inspired when we come in contact with one another.  There is a fund set up to help the children if you want to help.   You can also purchase one, or several, of the amazing down loadable magazines for sale on Kathreen's site.  I purchased one today and it was automatically e-mailed to me.  I highly recommend heading over and checking out the magazines!  There are science ideas, handicrafts, gardening, cooking, and many more.  My kids love to browse these for ideas when they are feeling crafty.  I do too!  Whipup Shop

For the birthday gifts I decided to use a tutorial from Whipup.  How to make a chef's hat.

They turned out super cute!


I added elastic since I couldn't measure their heads.

And we are no longer amused.

Thank you Kathreen . Your family is in our prayers....


Pin It

Monday, May 13, 2013

Increasing soil fertility


There are 2 schools of thought when it comes to using wood chips in the garden.  Some believe it's the best option and others believe its detrimental to a healthy garden.  I personally have done a lot of research and can appreciate both arguments but where we live I have chosen to use wood chips for 2 reasons.  The first is they are free!  The second reason is we live in Florida where it's hot and the soil gets scorched by the sun turning every exposed piece of top soil into sandy dry fluff.  Covering the soil with yard waste and even purchasing hay or pine needles only stays on the surface for a short period  before drying up and disintegrating once again exposing dry, sandy, and dead top soil. 

With wood chips I may get more fungus than normal but as the wood chips break down I also get a garden full of worms that are adding the beneficial bacteria that plants love.  Fungus plus bacteria is a win win!  I also like to grow beautiful and productive plants which is what I get when I use wood chips.


After adding compost but before adding wood chips


Only half mulched at this point.  I've added edibles to the space,  Zucchini, lima beans and tomatoes.


2 years ago I planted a butterfly garden by our pool and filled it with beautiful plants that I knew would thrive since it was such a sunny spot.  Now, 2 years later, I have a sad butterfly garden where only the hardiest of plants remain and the rest go to die.  You can see the original post here.  I know longer use weed liner, unless it's a short term problem solver, and all of it has been removed at this point.

My attention has been on the front garden but I finally decided to devote a little time to bringing this bed back to life.  The problem is that it's located at the top of a slope in the yard, gets extreme afternoon sun, and the only thing covering the soil is some pine bark remnants so the soil is sandy and dead.


To bring it back to life I added rich compost full of worms from the compost pile.  My pile is mostly chicken manure, food waste, and a small amount of yard waste and is not completely broken down so it's full of worms with every scoop but it can be a little potent to use as soil. If you are wanting to just use the soil it's best to wait until the worms have finished their job and have moved on.  In this case however my goal was to give the soil a little jump start so I needed those precious worms.  I made sure to only add a thin layer across all exposed top soil, harvested some Yarrow from the garden and spread that throughout the bed to hopefully aid in the breakdown process of the wood chips Yarrow Info, and topped it with approximately 6" of wood chips in open spots and 3" around the base of existing plants.  This should solve the problem and hopefully this bed will be in full bloom soon!
I'll keep you posted on the progress.....
Happy gardening!  Pin It

Friday, May 3, 2013

Eating What We Grow.


I have grown food every year but it has always been minimal.  Now the garden is filling in with an abundance of good food and it has been a bit of a learning curve coming up with different ways to eat the things that are available.


I tend to stick with the simple recipe free staples like roasting.  A little olive oil, sea salt, and a mix of garden veggies in a roasting pan cooked at 425 degrees is always a favorite.


Boiled until slightly tender and topped with fresh herbs is another.


We have lots of Kale growing.  My 2 favorite ways to prepare it is massage it with olive oil, sea salt, and a little lemon juice or I make  a dressing out of this recipe I came up with.
4 teaspoons miso (white)
3 tablespoons fresh squeezed lemon juice
1/3 cup olive oil
1 tablespoon white rice vinegar
3/4 tablespoon evaporated cane juice

Mix and toss in the kale.  You can add all kinds of other ingredients.  I added roasted garlic and pine nuts.


This is suppose to be a cucumber dill dip. The recipe I followed was awful so I modified it and added lots of hot peppers from the garden.  I love mixing high and low foods.  I removed the seeds from the peppers which left my hands on fire but will hopefully cut out most of the heat.  The peppers I used are Jalapeno, Holy Molly, and Cayenne.  Yikes!


And the most important to our house hold is the salad.  It's what I eat most days and provides something green, healthy, and delicious on the table every night. 

What are you growing and how do you bring it to the table? Pin It