HOME ABOUT ME PATTERNS/TUTORIALS FEATURED CONTACT ME

Saturday, October 25, 2014

Permaculture Garden with an English Cottage Garden Twist.


Peppers protected by the coverage of an olive tree with volunteer sweet potatoes covering the ground around the base of the tree.

Lots of seeds planted and giant crooked neck squash almost ready to harvest. 


A lettuce garden for daily picking.  Sweet potatoes taking over on the left and new pepper plants sprouting up on the right.

Boxwoods framing out the kitchen garden.

Vanilla Ice cream banana.

Newly planted boxwood framed kitchen garden.

 
A common breakfast from August to mid October. 

A gift for a neighbor.

A quick harvest for dinner and one of many cow pea harvests to store up for later.  The dried peas are stored in jars and the fresh peas blanched and frozen. 

My goal in this post is to give an overview of my garden and start a journal where I can share my gardening techniques in the future.  A lot of people ask me for help in this area and I have found that it's difficult to explain in a brief conversation.  I usually just get this blank stare back from the listener followed by a comment like "can I just hire you to plant my garden".  Gardening comes easy to me and I create systems and habitats in my garden without a lot of planning.  I read a lot about plants in my spare time and when it's time to garden that information just all comes alive for me. I want to be able to share that information with others in a way that is approachable.

When I started my garden 2 years ago I would have described my vision of the space as an English Cottage Garden with a Permaculture Twist.  Our front yard at the time was a 150' wide by 80' deep weed meadow with a lonely young palm tree in the middle.  I was planning and dreaming of the garden I was going to create in the back yard, because that is where you plant gardens, when I received a quote of $5,000 to re sod the front yard.  Yikes!  That didn't include landscaping or the monthly cost to water and pour chemicals on the lawn so it would remain grass and not become weeds again.  Everything in me knew there had to be a better way.  I was eager to start growing food and setting up the garden I was envisioning for the back yard was going to require a lot of time and hard work so I resolved to having the hubby build some large raised beds for the front yard that I would plant an English cottage style garden around.  I started growing vegetables in the raised beds and shortly after a friend introduced me to the film Back to Eden.  This film changed my life!  It all made since after watching this video and so began the front yard Permaculture garden. 

A few weeks after watching the film I heard a tree grinder grinding up a tree at my neighbors house. Oh the excitement!  I was sitting on the back porch reading and as soon as I heard that glorious sound, how I knew what a tree grinder sounded like I have no idea, I grabbed the kids and went running down the street barefoot in our pj's to find out if we could have the wood chips. They were delivered a few minutes later and I could not have been happier.  I felt like the Lord had delivered the best gift ever right to my front door.  If your not a gardener I'm sure you are thinking I'm very strange right now......

Since that morning almost 2 years ago I have shoveled 17 full truck loads of wood chips into my front yard and have converted 80% of the space into an edible landscape.  I still have a little left to convert and I have learned many other permaculture techniques that I now use instead of just wood chips.  It has been a process with lots of initial labor but as we head into year 2 I can see how this method of gardening has a huge payoff over time and requires very little work after it is established.  Now what was suppose to be an English Cottage Garden with a Permaculture twist is a lot more Permaculture with an English cottage twist.  Permaculture gardening works.  It's beautiful and functional.  It grows without watering and is free from pesticides and artificial fertilizers.  It's climate changing and habitat forming.  And the best part is it allows you to grow tons of food in a small space.  Before falling down this rabbit hole of Permaculture I feared that planting more than 3 or 4 trees in the front yard would shade out all my plants and I wouldn't be able to grow food.  Now I know how wrong I was and I currently have over 20 fruiting trees in this space with many other nitrogen fixing trees to support them and plans for at least 10 more before my design is complete. 

Did I mention it's BEAUTIFUL?!  At least I think so.  Job 12:7-9 But now ask the beasts, and they will teach you, or the birds of the air, and they will tell you; or speak to the earth, and it will teach you, and the fish of the sea will explain to you.  Who among all these does not know that the hand of the Lord has done this? 

Linkup over at The Homesteading Hibby Pin It

Wednesday, October 1, 2014

Plant Terrarium With Tropical Exotics.


I have recently found a new passion!  It's no secret that I love plants but surprisingly I have very few of them that I allow inside our home.  I will do seasonal plants throughout the year but will eventually place them outside in the garden.  The reason is I haven't found many that match the look I'm going for with our décor.  The family and I recently took a trip to Deland, FL to look for antiques and a friend recommended we take a visit to EFG Orchids.  What a treat!  I could have spent hours inside this family owned green house full of tropical exotics and orchids. I have now found many species that would look amazing inside our home.  Many of these plants are good for air purification and removing toxins inside the home which is another benefit aside from their amazing beauty.  I was only able to snap 2 photos with my phone before the battery died.


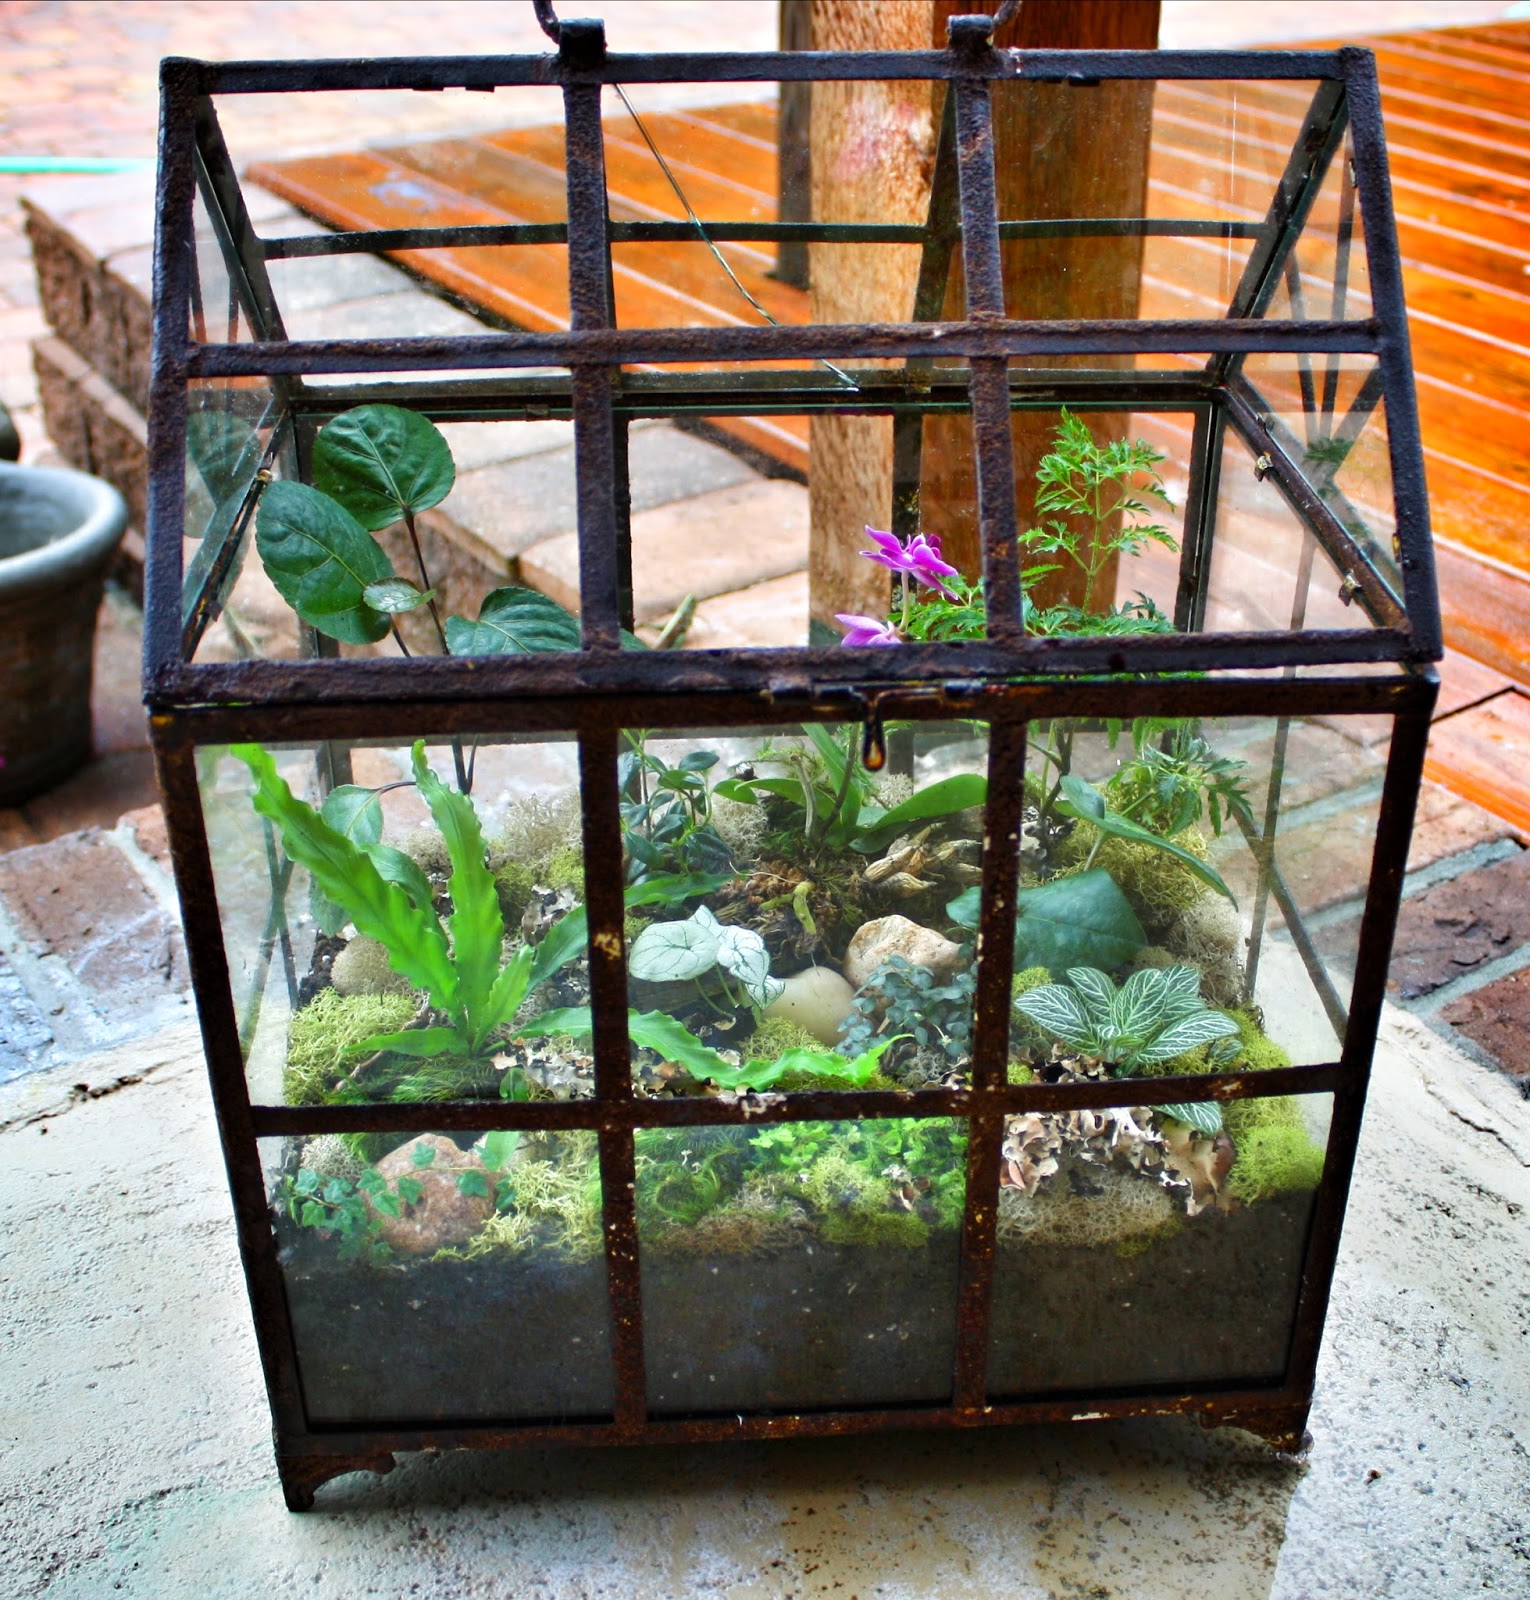
I could only bring a few treats home on this trip so I decided to get the largest variety I could with my small budget.  I chose the tiniest plants they had with the plan of using this terrarium I have had tucked in the closet for years.  All of these plants are easy to propagate so it gives me a good base of tropical exotics to start my collection.  I chose Miracle Grow potting mix with equal parts Peat Moss mixed together and filled my terrarium with the soil mixture to approximately 5" high.  I then added my plants to the design I felt looked attractive.  I also added an orchid that I have had for 7 years that I'm hoping will come back to life and a small orchid that I rescued from the Lowes clearance rack for $1.00.  Once my plants were in place I covered the exposed soil with a few varieties of dried moss.  The orchids are attached to wood chips and I added a few rocks to help hold in moisture. 


  Here is the list of plants I chose for my terrarium going from left to right and top to bottom:

Top left I don't have the name.
Goldfish plant.
Pink Lady Orchid.
Ming Aralia.
Birds nest Fern.
Dwarf Caladium.
Baby Tears.
Fittonia white vein.
Fig Vine (This is the tiniest little fig leaf I have ever seen and I haven't been able to find out much about it.)
Selaginella.


I originally placed the terrarium on the fireplace hearth temporarily and moved it to this table to take a photo because the fireplace lighting was poor.  I had no intentions of it staying on the fireplace or this table but later in the evening Tony asked me where the terrarium went and when I came back in the room I found it back on the hearth.  It seems this little terrarium has made a big impression on the hubby so for now it will stay on the hearth where he can enjoy it's beauty. 

I hope the fall season is bringing you much inspiration and creativity!


Pin It

Friday, September 19, 2014

Purl Soho


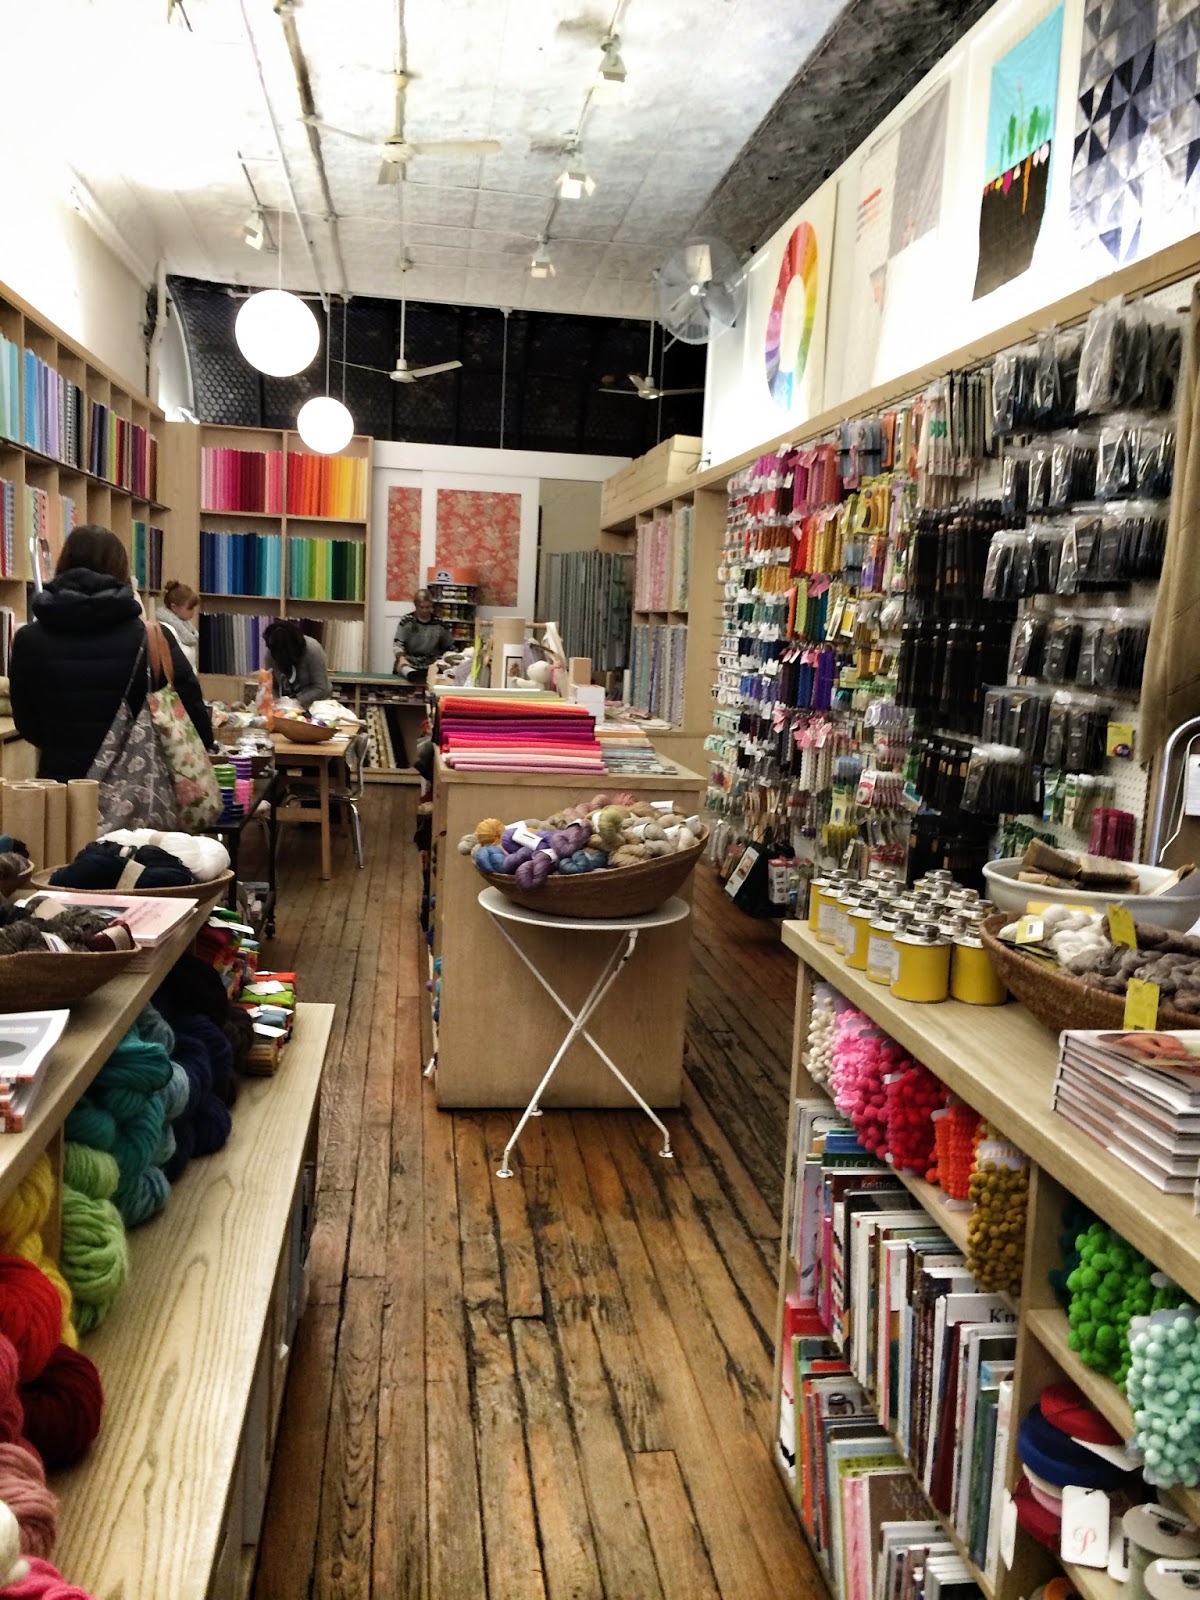
Purl Soho.  Ah, Purl Soho.  When my husband invited me to join him on a business trip to New York City my first thought was Purl Soho.  Wow have times changed since my previous trips to New York City but that is what motherhood and maturity will do to a women. 


Liberty Fabric Wall


For me this trip was about enjoying some much needed alone time with my husband, long walks through Central Park and Purl Soho.  I had no interest in perusing the endless shops of New York City but instead wanted to get my hands on some of the soft textiles that can not be found in this lovely city in which I live but are available in abundance in this quaint store. 


When we landed it started to snow.  Then it snowed and snowed and snowed some more!  Those long walks through Central Park ended up being a quick hop out of a cab for a picture and a blistery moment taking in the beauty of the still white wilderness. 


For some the temperatures below 10 with wind chills below zero would have ruined their trip but for me it made it all the more majestic.  I have been to New York City many times but to see it when the streets were nearly abandoned of cars and people was surreal.  We stayed in Times Square and it was almost impossible to find a taxi at times.  I found out later from one of the taxi drivers that they all stayed home because they didn't know how the new Mayor was going to handle clearing the roads. 


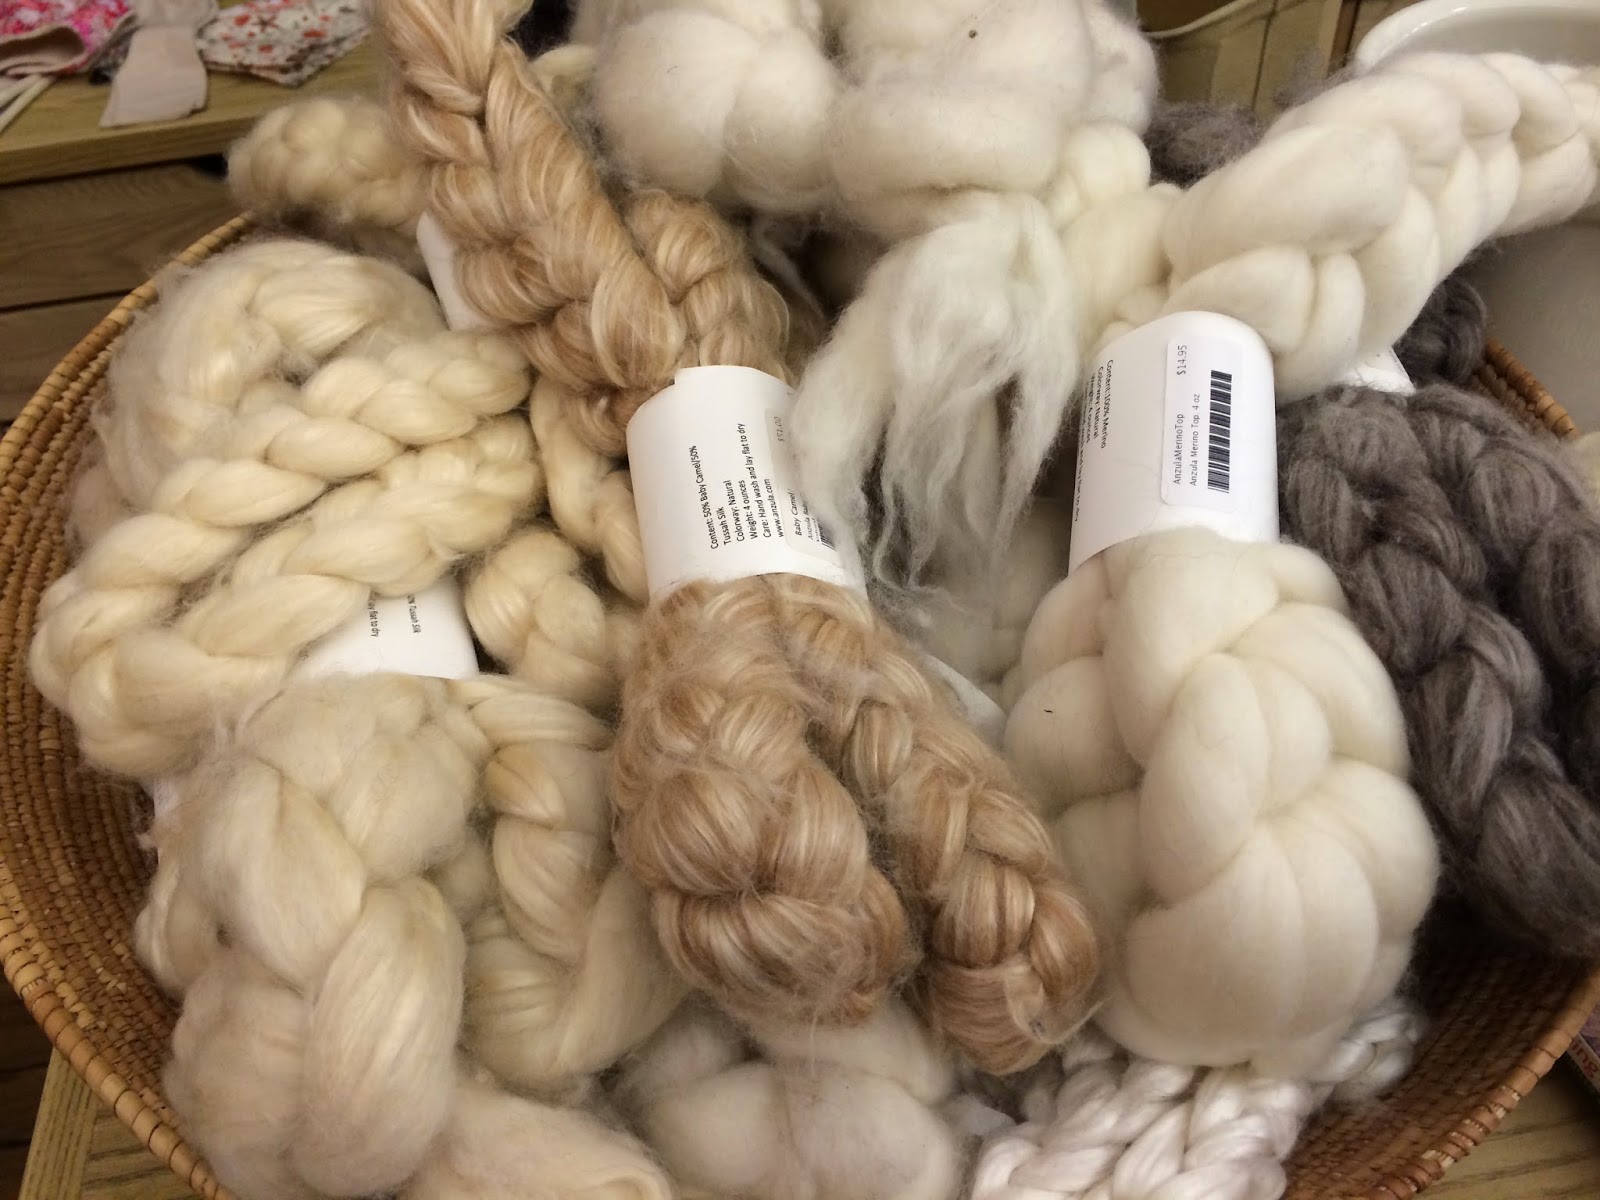
So here it is 8 months later and I am embracing the warm and cozy feeling that comes with knitting as the seasons change, thankful to have my hands on some of the lovely yarn that I purchased that day.   A great reminder of that special break from our day to day routine.  Oh, how these photos of Purl Soto inspire me!

 
Pin It

Wednesday, September 3, 2014

Raising Poultry for meat on an Urban Homestead.

Warning!  This is a homesteading post about raising poultry to eat and there are some unpleasant details. 


Hi Friends,  Sorry it has been so long.  I "need" to do a blog makeover and tackling such a task stresses me out so instead of diving in and accepting the challenge I stopped blogging all together.  Thank you to those who have given me the push to start writing and sharing again.  As for the blog makeover, well that will just have to wait.


Over the past few months I have been busy trying to do what I set out to do when we first purchased this home, find ways to stop relying on others for the things we need and start producing those things ourselves.  We hatched Black Copper Maran birds to raise for meat and layer hens and purchased Heritage broiler chicks.  Overall it was a success although as I type this the many challenges are flooding my mind.  Our first challenge was it was HOT!  Caring for a large flock of birds in the dead heat of the summer was not my brightest homestead idea.  I'm grateful now as I pull dinner from the freezer with ease but at the time it was wearying.  We ended up with 17 birds after processing but I believe we started with 24.  After surviving the untidiness of so many younglings in the early stage of raising the birds, I was excited to get them into the front coop where the mess would be unnoticeable and they would have room to roam.  It is smooth sailing when they can free roam......right?  It turns out there is this period of adolescence that I failed to acknowledge.  The first day I had them in the front coop the hawks were swarming.  Let me just add that hawks do not need speed and space to swoop down and catch their prey!  I was taught that in Prague a few years back at a live bird show and that person was exceptionally wrong.  The hawks around these parts.....hehe.......like to land on the coop and take their time devouring their pray right there in the run.  We lost a few to the hawks and 1 or 2 were smothered in the commotion so I had to keep them locked up in the coop for a few more weeks which meant more mess.  I put them in our coop on stilts that has 1 inch rabbit wire and I thought that we would be predator free for awhile. It turns out I was very wrong.  Something was ripping the toes off the birds through that tiny wire at night......sigh. 

I solved the issue of unprotected toes and as the birds grew things got easier.  My plan was to set up an electric netting fence at the far end of our property so they would be out of the way and have plenty of room to forage but they ended up having more than enough space in our front yard run that is about 20'X30' and they played nicely with the silkie hens that share that space so I never did get the netting.  It was overall a great learning experience and it made me realize that you can produce a lot of free range meat in a small space.  We butchered them at a friends farm with another family who had raised birds and shared the work load.  We are blessed to have a friend willing to help us on this journey so we can be a little more self reliant and know exactly where our food comes from.  This is a video of the defeathering machine.  The birds are bled out in a cone first then dipped in hot water until feathers can be plucked by hand easily.  I don't love this part of the chicken raising story and could easily live on an all vegan diet but my family wants to eat meat so I'm doing what needs to be done to provide them with the healthiest most humane option. 


We have also been incubating silkie eggs and have mamas sitting and hatching out silkies to sell to cover the cost of feed for our newest flock of Freedom Ranger Broilers that are arriving this month.  We love our silkies!  They are the best "pet birds", fertilize the garden without destroying it, and make great mamas so we can keep life multiplying on our little homestead without an incubator if we choose.  If you want a backyard hen for a small urban yard, this is the bird.  You won't be swimming eggs but they are quiet and much cleaner than your average layer. 


My favorite girl with my favorite hen Francine.


I'm glad to be back sharing our adventures.  I would love to hear of your successes and failures of raising poultry on a small urban farm! 

Genesis 2:15
The LORD God took the man and put him in the Garden of Eden to work it and take care of it.


Pin It

Thursday, December 26, 2013

Homemade biopod for Black Soldier Fly Larvae.

I finally took the plunge into raising chickens without commercial feed.  It was always my goal but my flock grew fast and commercial feed seemed like the only option.  Over the summer however we lost several hens to wildlife and the flock that was left decided they no longer wanted to stay in their blocked off 2 acres but would rather be up near the house causing lots of mess and damage to the gardens.  I locked them up in the coop for a month and went to work on solving the problem and during that period of eating only commercial grain feed I saw a huge change in our eggs as well as the behavior of the birds.  The eggs yolks quickly went pale yellow and 2 of my older birds seemed to age very quickly.  One even died during that period.  It may be a coincidence that my older hens started showing real signs of old age at that time but either way it felt very unnatural to me so I ditched the feed and started down a new path.

I'm now feeding the chickens what we have available and supplementing with food from the kitchen when there isn't enough in the garden or with resources in the yard.  We live on a creek so I have been blessed with the ability to feed them bait fish that are very easy to catch and duckweed which is high in protein.  The duckweed is all full of snails, minnows, and lots of other water creatures so the chickens love the excitement of finding treasures when I toss a net full into the coop.  The other sources of food are from house scraps and garden scraps.  I recently harvested most of the sweet potatoes and all the ones that were too damaged for human consumption were boiled up and bagged to feed the chickens for the next several months.  When we are busy and scraps are light I have been supplementing with things like oats, flax, chia seeds, rice, rye seeds, and quinoa.  Sometimes I add a little water to make the portion larger.  The chia is great at expanding and acting as a filler to this homemade feed.   It has only been about a month but the cost seems to be reasonable so far.  I purchased these items in bulk at Costco for my family to eat and have used very little so far.  I have had to supplement a bowl full about every other day for 10 chickens. 

This is all an experiment so I'm learning as we try this out but so far our egg yolks are back to a dark yellow color and that is with just a small amount of outdoor space, that is mostly dirt, to roam since the chicken run is still under construction.  I am however foreseeing a problem in the near future with a protein source as the weather gets colder.  The bait fish and duckweed will be gone soon so I'm trying out a new vermaculture technique that I read about online.  Raising Black Soldier Larvae for chicken feed.  It seems to be popular in the aquaponics community but could also be a cheap and easy source of protein for chickens as well.  Here is one site all about the Black Soldier Fly. 

I made a quick video instead of pictures to show you how I created my biopod for Black Soldier Fly Larvae.  I will keep you posted on how it works! 


Pin It