HOME ABOUT ME PATTERNS/TUTORIALS FEATURED CONTACT ME

Friday, September 19, 2014

Purl Soho


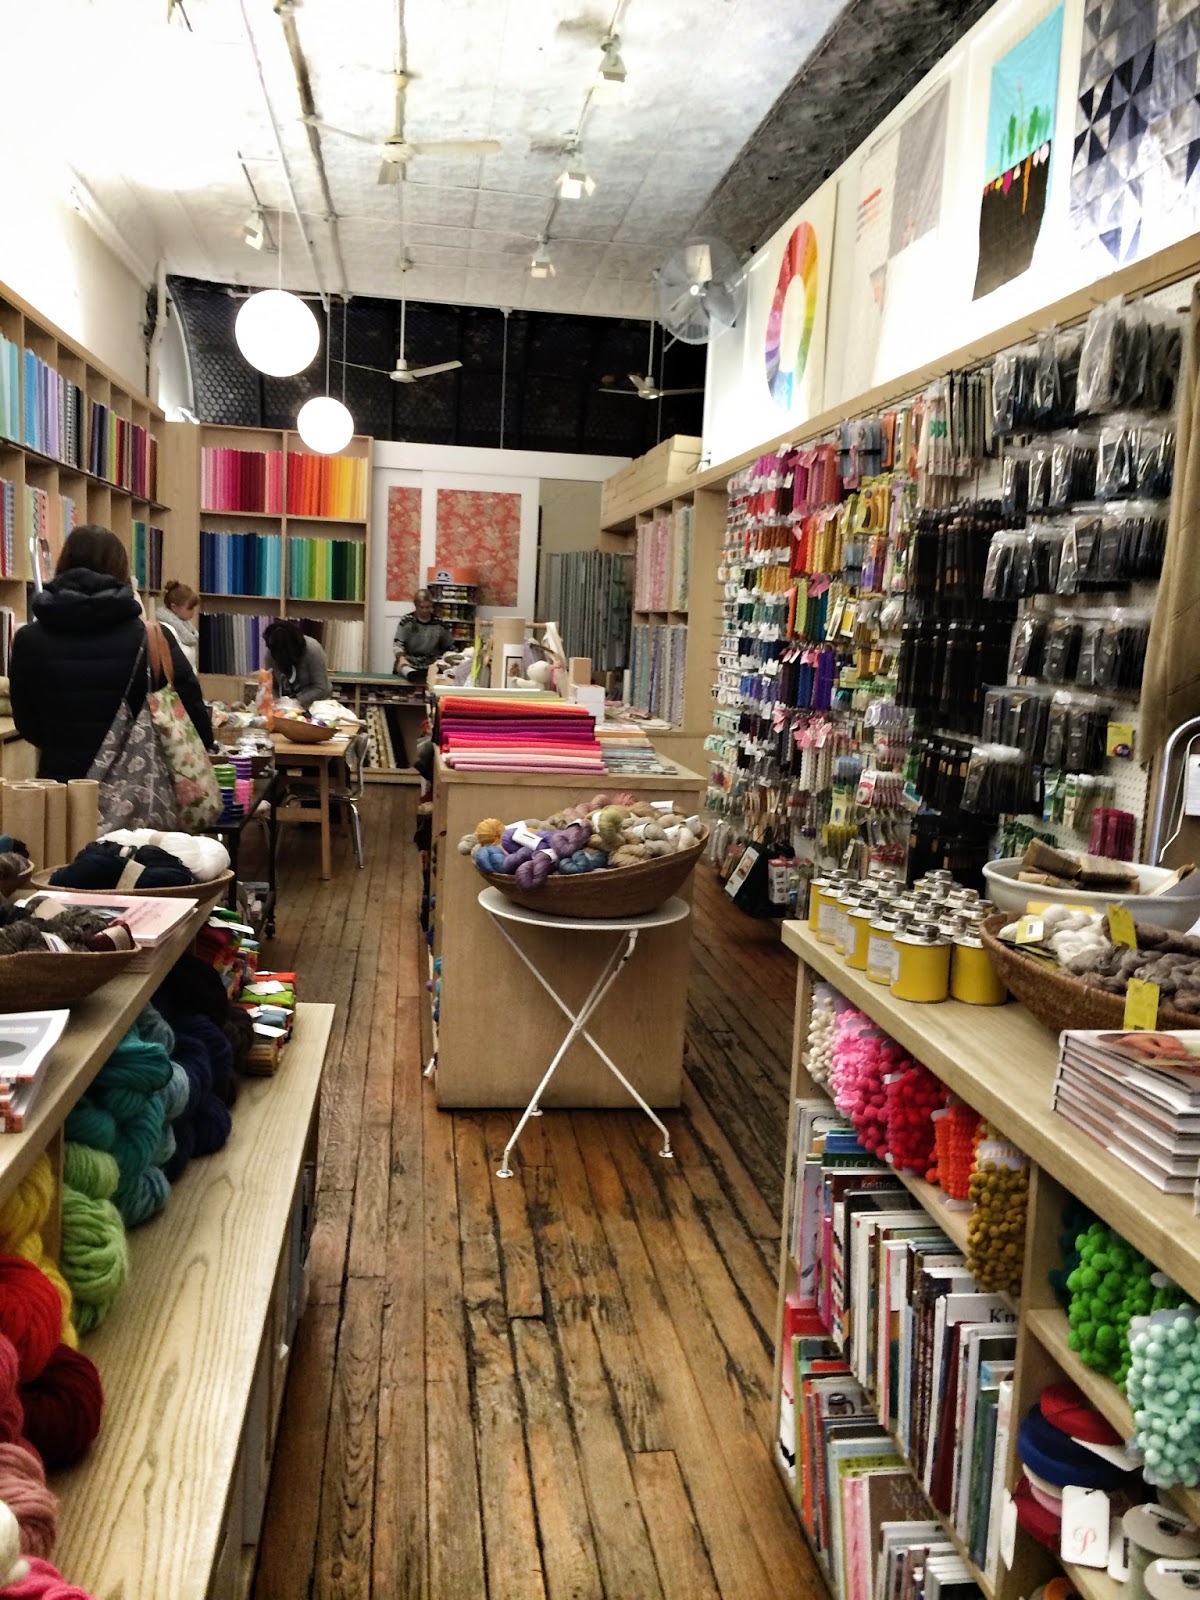
Purl Soho.  Ah, Purl Soho.  When my husband invited me to join him on a business trip to New York City my first thought was Purl Soho.  Wow have times changed since my previous trips to New York City but that is what motherhood and maturity will do to a women. 


Liberty Fabric Wall


For me this trip was about enjoying some much needed alone time with my husband, long walks through Central Park and Purl Soho.  I had no interest in perusing the endless shops of New York City but instead wanted to get my hands on some of the soft textiles that can not be found in this lovely city in which I live but are available in abundance in this quaint store. 


When we landed it started to snow.  Then it snowed and snowed and snowed some more!  Those long walks through Central Park ended up being a quick hop out of a cab for a picture and a blistery moment taking in the beauty of the still white wilderness. 


For some the temperatures below 10 with wind chills below zero would have ruined their trip but for me it made it all the more majestic.  I have been to New York City many times but to see it when the streets were nearly abandoned of cars and people was surreal.  We stayed in Times Square and it was almost impossible to find a taxi at times.  I found out later from one of the taxi drivers that they all stayed home because they didn't know how the new Mayor was going to handle clearing the roads. 


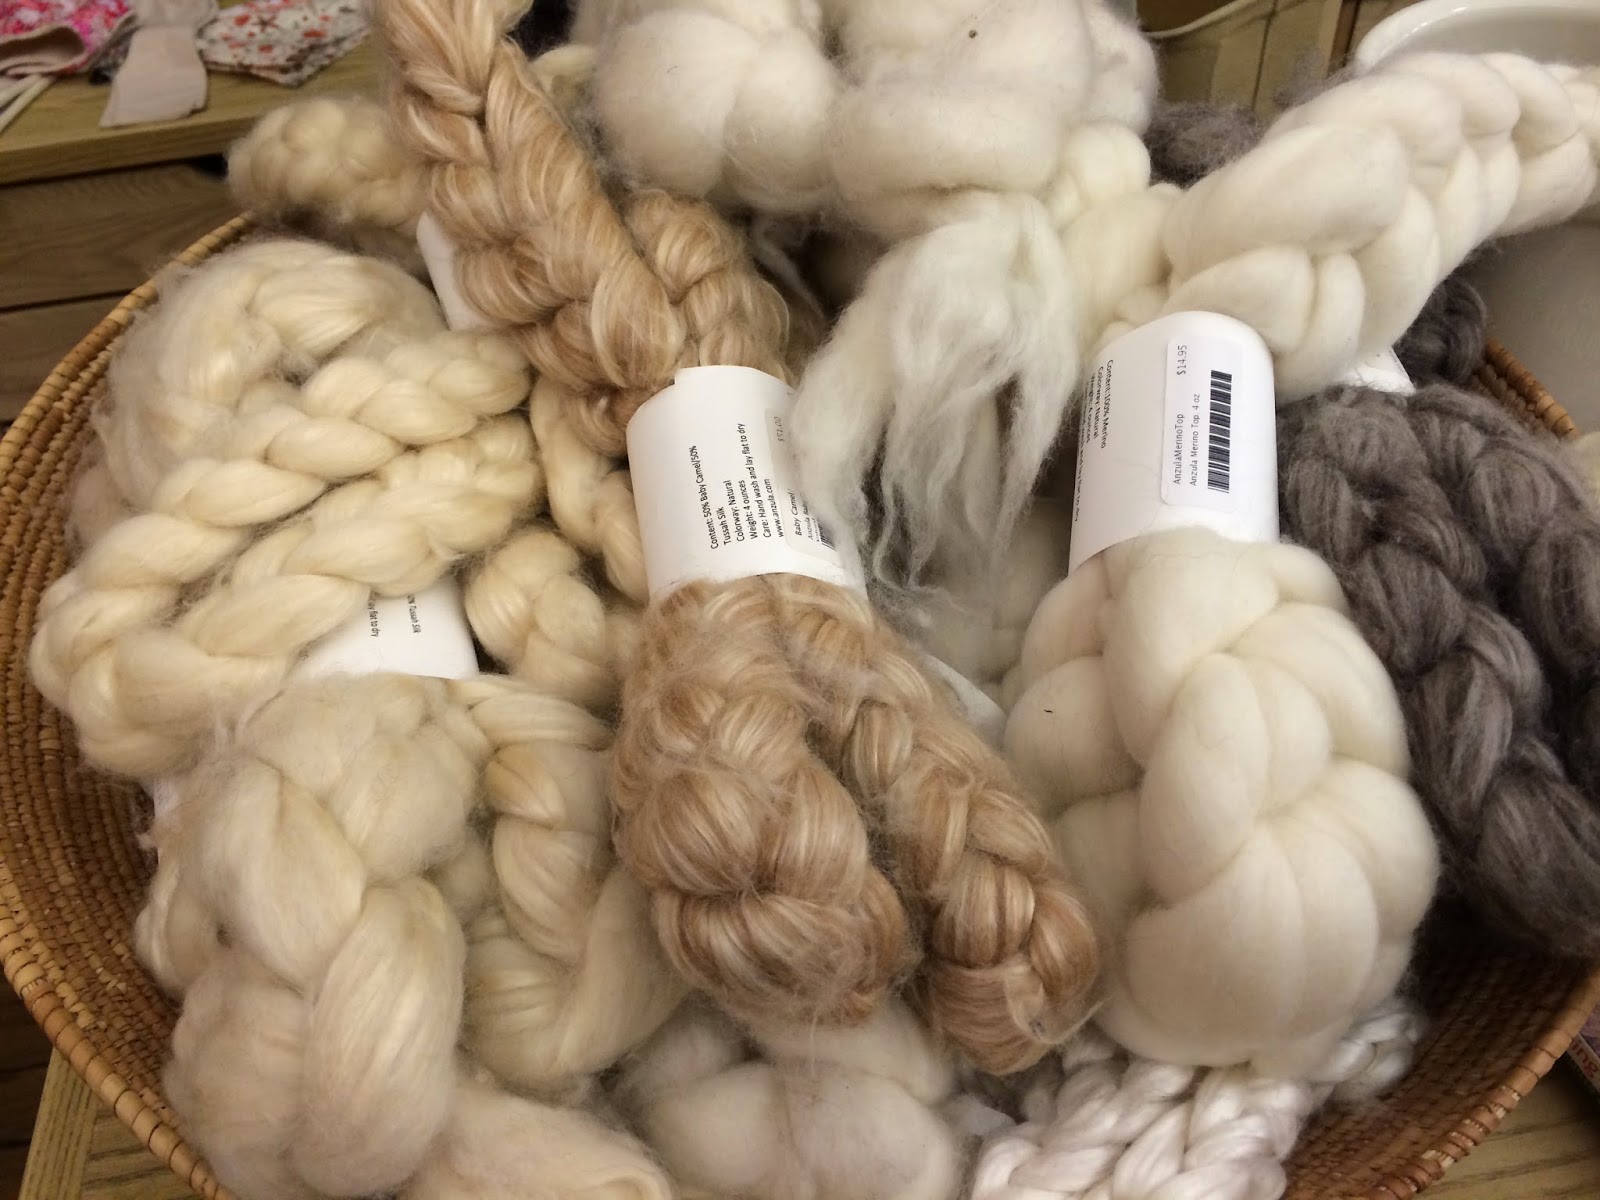
So here it is 8 months later and I am embracing the warm and cozy feeling that comes with knitting as the seasons change, thankful to have my hands on some of the lovely yarn that I purchased that day.   A great reminder of that special break from our day to day routine.  Oh, how these photos of Purl Soto inspire me!

 
Pin It

Wednesday, September 3, 2014

Raising Poultry for meat on an Urban Homestead.

Warning!  This is a homesteading post about raising poultry to eat and there are some unpleasant details. 


Hi Friends,  Sorry it has been so long.  I "need" to do a blog makeover and tackling such a task stresses me out so instead of diving in and accepting the challenge I stopped blogging all together.  Thank you to those who have given me the push to start writing and sharing again.  As for the blog makeover, well that will just have to wait.


Over the past few months I have been busy trying to do what I set out to do when we first purchased this home, find ways to stop relying on others for the things we need and start producing those things ourselves.  We hatched Black Copper Maran birds to raise for meat and layer hens and purchased Heritage broiler chicks.  Overall it was a success although as I type this the many challenges are flooding my mind.  Our first challenge was it was HOT!  Caring for a large flock of birds in the dead heat of the summer was not my brightest homestead idea.  I'm grateful now as I pull dinner from the freezer with ease but at the time it was wearying.  We ended up with 17 birds after processing but I believe we started with 24.  After surviving the untidiness of so many younglings in the early stage of raising the birds, I was excited to get them into the front coop where the mess would be unnoticeable and they would have room to roam.  It is smooth sailing when they can free roam......right?  It turns out there is this period of adolescence that I failed to acknowledge.  The first day I had them in the front coop the hawks were swarming.  Let me just add that hawks do not need speed and space to swoop down and catch their prey!  I was taught that in Prague a few years back at a live bird show and that person was exceptionally wrong.  The hawks around these parts.....hehe.......like to land on the coop and take their time devouring their pray right there in the run.  We lost a few to the hawks and 1 or 2 were smothered in the commotion so I had to keep them locked up in the coop for a few more weeks which meant more mess.  I put them in our coop on stilts that has 1 inch rabbit wire and I thought that we would be predator free for awhile. It turns out I was very wrong.  Something was ripping the toes off the birds through that tiny wire at night......sigh. 

I solved the issue of unprotected toes and as the birds grew things got easier.  My plan was to set up an electric netting fence at the far end of our property so they would be out of the way and have plenty of room to forage but they ended up having more than enough space in our front yard run that is about 20'X30' and they played nicely with the silkie hens that share that space so I never did get the netting.  It was overall a great learning experience and it made me realize that you can produce a lot of free range meat in a small space.  We butchered them at a friends farm with another family who had raised birds and shared the work load.  We are blessed to have a friend willing to help us on this journey so we can be a little more self reliant and know exactly where our food comes from.  This is a video of the defeathering machine.  The birds are bled out in a cone first then dipped in hot water until feathers can be plucked by hand easily.  I don't love this part of the chicken raising story and could easily live on an all vegan diet but my family wants to eat meat so I'm doing what needs to be done to provide them with the healthiest most humane option. 


We have also been incubating silkie eggs and have mamas sitting and hatching out silkies to sell to cover the cost of feed for our newest flock of Freedom Ranger Broilers that are arriving this month.  We love our silkies!  They are the best "pet birds", fertilize the garden without destroying it, and make great mamas so we can keep life multiplying on our little homestead without an incubator if we choose.  If you want a backyard hen for a small urban yard, this is the bird.  You won't be swimming eggs but they are quiet and much cleaner than your average layer. 


My favorite girl with my favorite hen Francine.


I'm glad to be back sharing our adventures.  I would love to hear of your successes and failures of raising poultry on a small urban farm! 

Genesis 2:15
The LORD God took the man and put him in the Garden of Eden to work it and take care of it.


Pin It

Thursday, December 26, 2013

Homemade biopod for Black Soldier Fly Larvae.

I finally took the plunge into raising chickens without commercial feed.  It was always my goal but my flock grew fast and commercial feed seemed like the only option.  Over the summer however we lost several hens to wildlife and the flock that was left decided they no longer wanted to stay in their blocked off 2 acres but would rather be up near the house causing lots of mess and damage to the gardens.  I locked them up in the coop for a month and went to work on solving the problem and during that period of eating only commercial grain feed I saw a huge change in our eggs as well as the behavior of the birds.  The eggs yolks quickly went pale yellow and 2 of my older birds seemed to age very quickly.  One even died during that period.  It may be a coincidence that my older hens started showing real signs of old age at that time but either way it felt very unnatural to me so I ditched the feed and started down a new path.

I'm now feeding the chickens what we have available and supplementing with food from the kitchen when there isn't enough in the garden or with resources in the yard.  We live on a creek so I have been blessed with the ability to feed them bait fish that are very easy to catch and duckweed which is high in protein.  The duckweed is all full of snails, minnows, and lots of other water creatures so the chickens love the excitement of finding treasures when I toss a net full into the coop.  The other sources of food are from house scraps and garden scraps.  I recently harvested most of the sweet potatoes and all the ones that were too damaged for human consumption were boiled up and bagged to feed the chickens for the next several months.  When we are busy and scraps are light I have been supplementing with things like oats, flax, chia seeds, rice, rye seeds, and quinoa.  Sometimes I add a little water to make the portion larger.  The chia is great at expanding and acting as a filler to this homemade feed.   It has only been about a month but the cost seems to be reasonable so far.  I purchased these items in bulk at Costco for my family to eat and have used very little so far.  I have had to supplement a bowl full about every other day for 10 chickens. 

This is all an experiment so I'm learning as we try this out but so far our egg yolks are back to a dark yellow color and that is with just a small amount of outdoor space, that is mostly dirt, to roam since the chicken run is still under construction.  I am however foreseeing a problem in the near future with a protein source as the weather gets colder.  The bait fish and duckweed will be gone soon so I'm trying out a new vermaculture technique that I read about online.  Raising Black Soldier Larvae for chicken feed.  It seems to be popular in the aquaponics community but could also be a cheap and easy source of protein for chickens as well.  Here is one site all about the Black Soldier Fly. 

I made a quick video instead of pictures to show you how I created my biopod for Black Soldier Fly Larvae.  I will keep you posted on how it works! 


Pin It

Wednesday, December 18, 2013

Pillow Case to Market Tote Turtorial

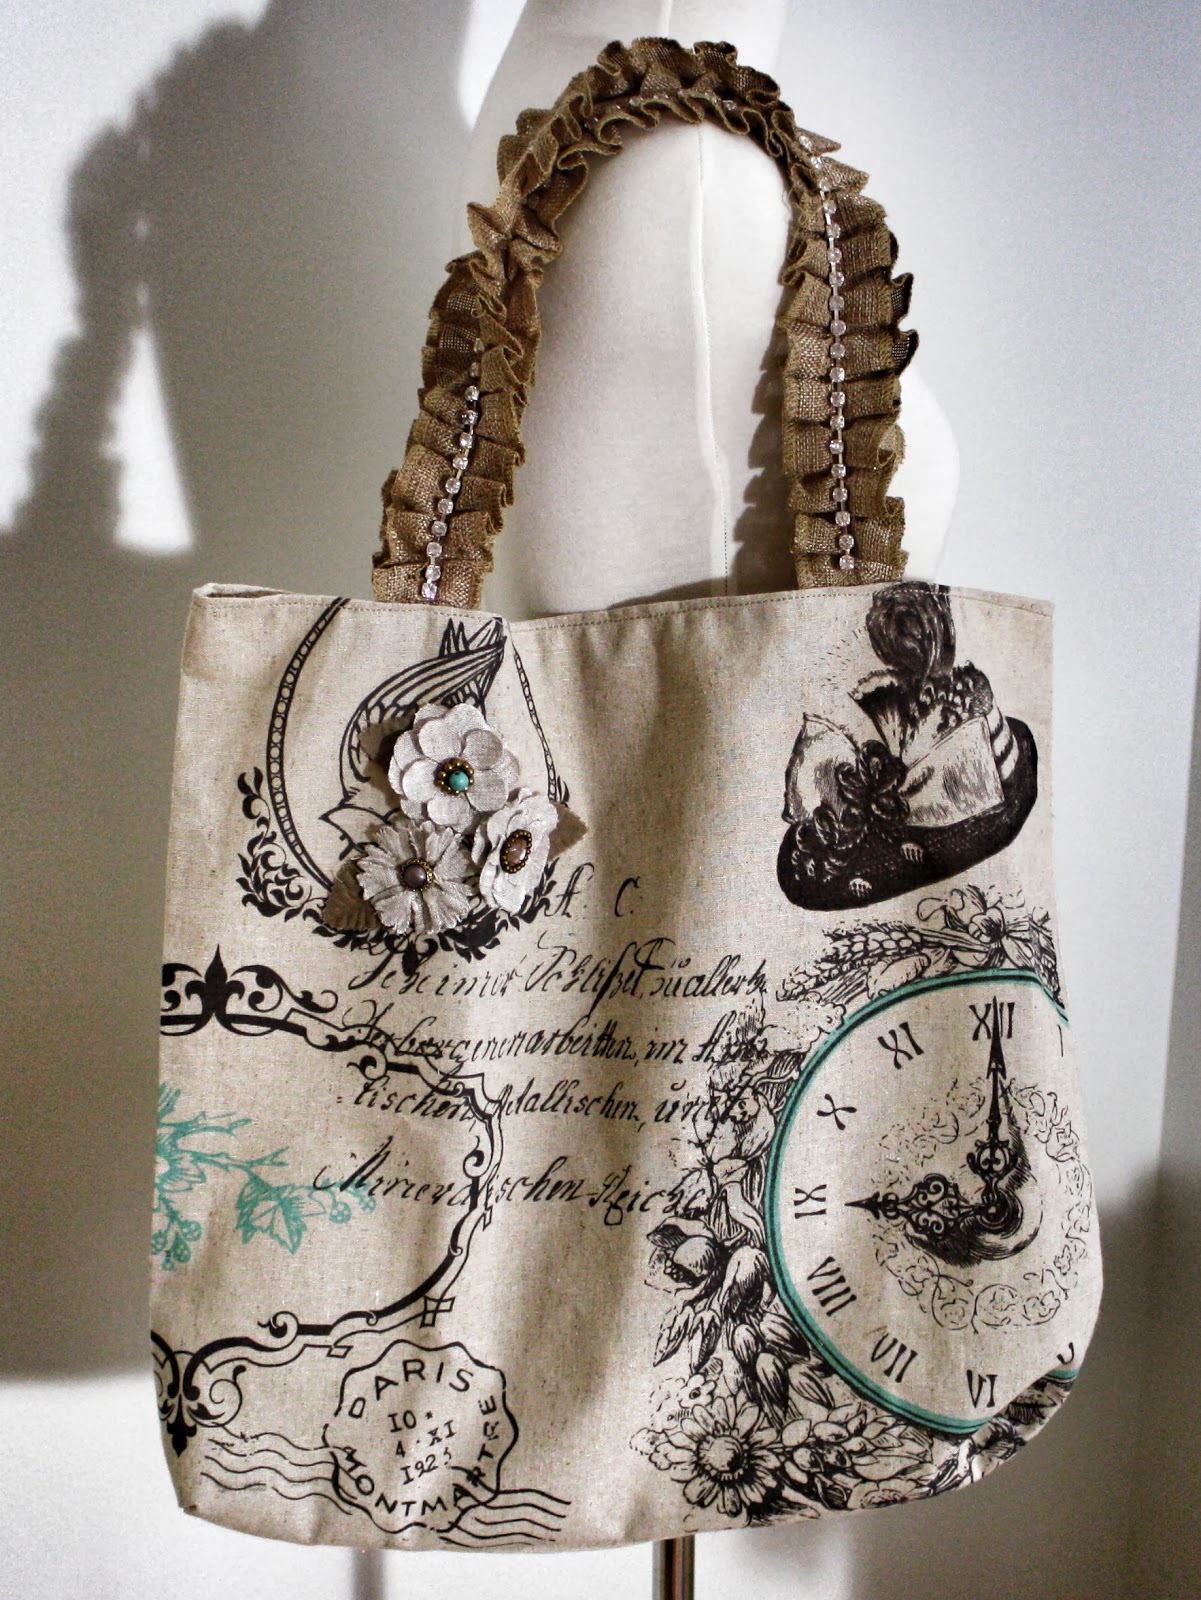
This Christmas I wanted to make market totes for friends and family but I am strapped for time so I needed something that I could whip up quickly.  It was important to me that they still be beautiful and well made however.  This is what I came up with.


Here is a quick tutorial if you want to make your own Market totes.

What you will need:

Pillow cover:  I purchased these burlap like covers from Hobby Lobby for $5.99-$6.99 and was able to use the 40 % off coupon.  


Pre made flowers or fabric scraps to make your own flowers:  I purchased some pre made flowers and decorative grommets to add to my homemade flowers from Hobby Lobby.  I chose to do homemade flowers with most to keep the cost down.  

Trim for straps: The ruffled burlap with diamond trim came from Hobby Lobby, you can use any durable trim.

Good glue:  I use E6000 anytime I'm gluing fabric.


Step 1: Open the zipper and flip the cover inside out.  Using a seam ripper, carefully pull out the seam along what you want to be the top of the tote.

Step 2:  Cut off the side housing the zipper about an inch along the entire side or bottom removing the zipper and cutting a seam along the entire side that is even.  Keep the zippers!  You can reuse them!

Step 3:  Sew the side where the zipper was removed using a 1/2" seam allowance. I surged all the sides for extra reinforcement since these are designed for the market but that's not necessary.


Step 4:  Create the bottom corners by pinching the side seam down to the bottom seam and stitching across about 1.5" from the corner.  This will square off the bottom corner.


Step 5:  Create the top seam. Since I was going for the rustic look I serged along the rim then folded over and ironed flat. For a cleaner look or if you don't have a Serger then you will want to fold over and iron the top 1/4" then fold over another 1/4" and iron flat. This will give the top a clean finished look.


Step 6:  Pin and sew straps in place.  I didn't take enough photos on this but after you pin your straps to the wrong side you will want to sew them in place using a double stitch or making two stitch rows so they will hold up when weight is added to the tote.


Here is a picture of the top finished with the trim sewn to the inside of the tote.


Step 7: Top stitch along the entire top rim.


Step 8:   Add flowers, bows or anything else you feel is beautiful to the front using the E6000 glue or hand stitching them in place.


To make flowers:  I took fabric scraps and frayed them and used vintage lace and trim scraps to make my flowers. I make flowers by adding a gather stitch then while I pull the thread and gather I work the fabric in a circle.  To hold it all together I put it under my machine for a quick stitch in the center.  If it didn't come out the exact shape I was looking for I hand stitch it to shape it a bit.  I then took off the metal grommet parts of my decorative grommets and glued the decorative front of the grommet to the middle of the flower.  My goal was quick and rustic chic so there was no need for perfection with these totes. If you are interested in more details on making flowers This is a great tutorial and the flowers are beautiful!


I hope this  tutorial allows you an easy way to bless loved ones with your gift sewing!


Merry Christmas Pin It