What you will need:
- knit tank top or t-shirt
- fabric (knit or quilting)
- ball point needle (works best when using knits)
- 3/4" elastic
Step 1: Mark tank top with a straight pin at the desired finished length. (the spot where you want you waist band to meet your tank top)
Step 2: Measure 1.5" below pin and place another pin at that spot. This will be your cutting line.
Step 3: Cut the tank top.
Prepare skirt
Step 4: Measure the skirt fabric by measuring your waist and times by 1.5. That is the standard width. I make mine less wide for a more fitted formal look.
Step 5: Fold the skirt fabric in half right sides together and pin. Stitch or serge side together.
Step 6: Iron the first 5" of the opposite side of the skirt. Note: this will be used to align the knit top seam when attaching bodice to skirt.
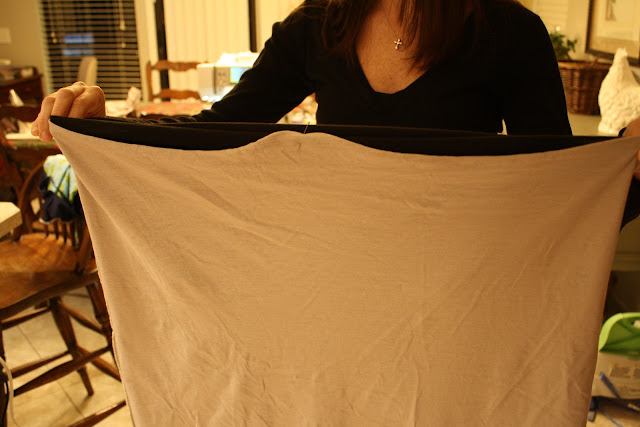
Step 7: With skirt still wrong side out place the tank top right side out inside the skirt. With raw edges together, pin the left and right sides.
Step 8: Stretch back side of the t-shirt to align the tank with the skirt. Once stretched add a pin to the middle attaching the middle of the bodice to the middle of the skirt waist. This will help make stretching the tank to match the skirt width easier when stitching together. Repeat for the other side.
Step 9: Sew using a 1/2" seam allowance with the knit side down on the presser foot stretching the tank to match the width of the skirt fabric as you sew. Note: It's best to sew first then go back and serge if you plan to serge seams.
 |
| Looks like this when finished sewing and still inside out. |
Step 10: Turn dress right side out. Fold skirt fabric up 1.5" on one of the side seams. Iron flat and place a pin to connect skirt fabric to top. Do the same for the other side as well as in the middle front and back. Iron the seam all the way around to use as a guide.
Note: You are creating a pocket on the inside of the dress for the elastic.
 |
| Here is what it looks like finished. |
 |
| Sorry about different photo. Not sure what happened to the one for the knit dress. |
 |
| 2 seams with 1.5" opening to feed in elastic. |
Step 14: Sew elastic together using zigzag stitch and close opening by top stitching or hand sewing.
Step 15: finish off bottom hem of skirt and you are done! Notice with the knit skirt I made I chose to leave it unfinished.
I didn't use a finished hem on this skirt since it was knit. I just left it to have a natural roll.
Happy Sewing!


Love it!Have been looking all day for a no nonsense dress tutorial and this one is easy to follow. Tyvm!
ReplyDelete