


Here is a quick tutorial if you want to make your own Market totes.
What you will need:
Pillow cover: I purchased these burlap like covers from Hobby Lobby for $5.99-$6.99 and was able to use the 40 % off coupon.

Pre made flowers or fabric scraps to make your own flowers: I purchased some pre made flowers and decorative grommets to add to my homemade flowers from Hobby Lobby. I chose to do homemade flowers with most to keep the cost down.
Trim for straps: The ruffled burlap with diamond trim came from Hobby Lobby, you can use any durable trim.
Good glue: I use E6000 anytime I'm gluing fabric.
Step 1: Open the zipper and flip the cover inside out. Using a seam ripper, carefully pull out the seam along what you want to be the top of the tote.
Step 2: Cut off the side housing the zipper about an inch along the entire side or bottom removing the zipper and cutting a seam along the entire side that is even. Keep the zippers! You can reuse them!
Step 3: Sew the side where the zipper was removed using a 1/2" seam allowance. I surged all the sides for extra reinforcement since these are designed for the market but that's not necessary.

Step 4: Create the bottom corners by pinching the side seam down to the bottom seam and stitching across about 1.5" from the corner. This will square off the bottom corner.

Step 5: Create the top seam. Since I was going for the rustic look I serged along the rim then folded over and ironed flat. For a cleaner look or if you don't have a Serger then you will want to fold over and iron the top 1/4" then fold over another 1/4" and iron flat. This will give the top a clean finished look.


Step 6: Pin and sew straps in place. I didn't take enough photos on this but after you pin your straps to the wrong side you will want to sew them in place using a double stitch or making two stitch rows so they will hold up when weight is added to the tote.

 |
| Here is a picture of the top finished with the trim sewn to the inside of the tote. |
Step 7: Top stitch along the entire top rim.

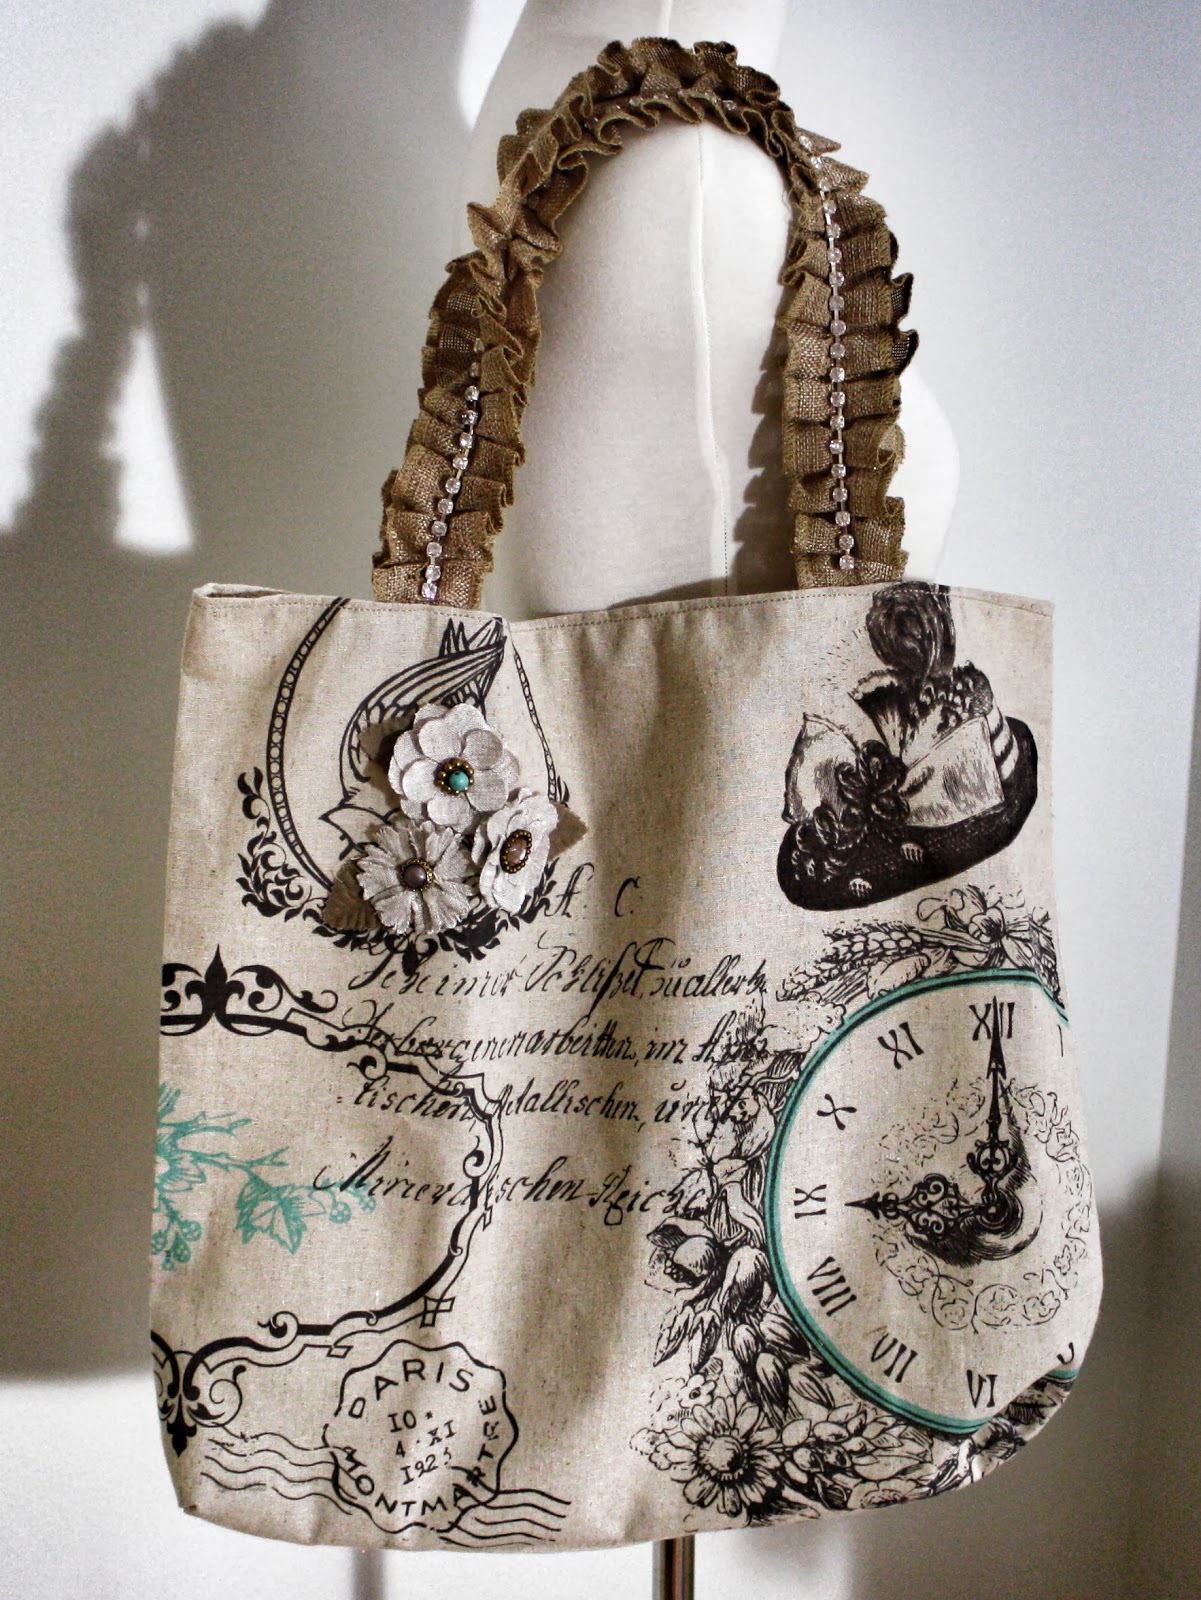
Step 8: Add flowers, bows or anything else you feel is beautiful to the front using the E6000 glue or hand stitching them in place.

To make flowers: I took fabric scraps and frayed them and used vintage lace and trim scraps to make my flowers. I make flowers by adding a gather stitch then while I pull the thread and gather I work the fabric in a circle. To hold it all together I put it under my machine for a quick stitch in the center. If it didn't come out the exact shape I was looking for I hand stitch it to shape it a bit. I then took off the metal grommet parts of my decorative grommets and glued the decorative front of the grommet to the middle of the flower. My goal was quick and rustic chic so there was no need for perfection with these totes. If you are interested in more details on making flowers This is a great tutorial and the flowers are beautiful!


I hope this tutorial allows you an easy way to bless loved ones with your gift sewing!
Merry Christmas


No comments:
Post a Comment
Thank you for your comments! It so great to hear from you and it is what keeps me motivated to create.