


What you will need:
1 fat quarter
A 9" strand of 1/8" wide elastic
ribbon
ruler
Step 1: Prepare your fabric.
Fold your fat quarter twice so that you have 4 sides.
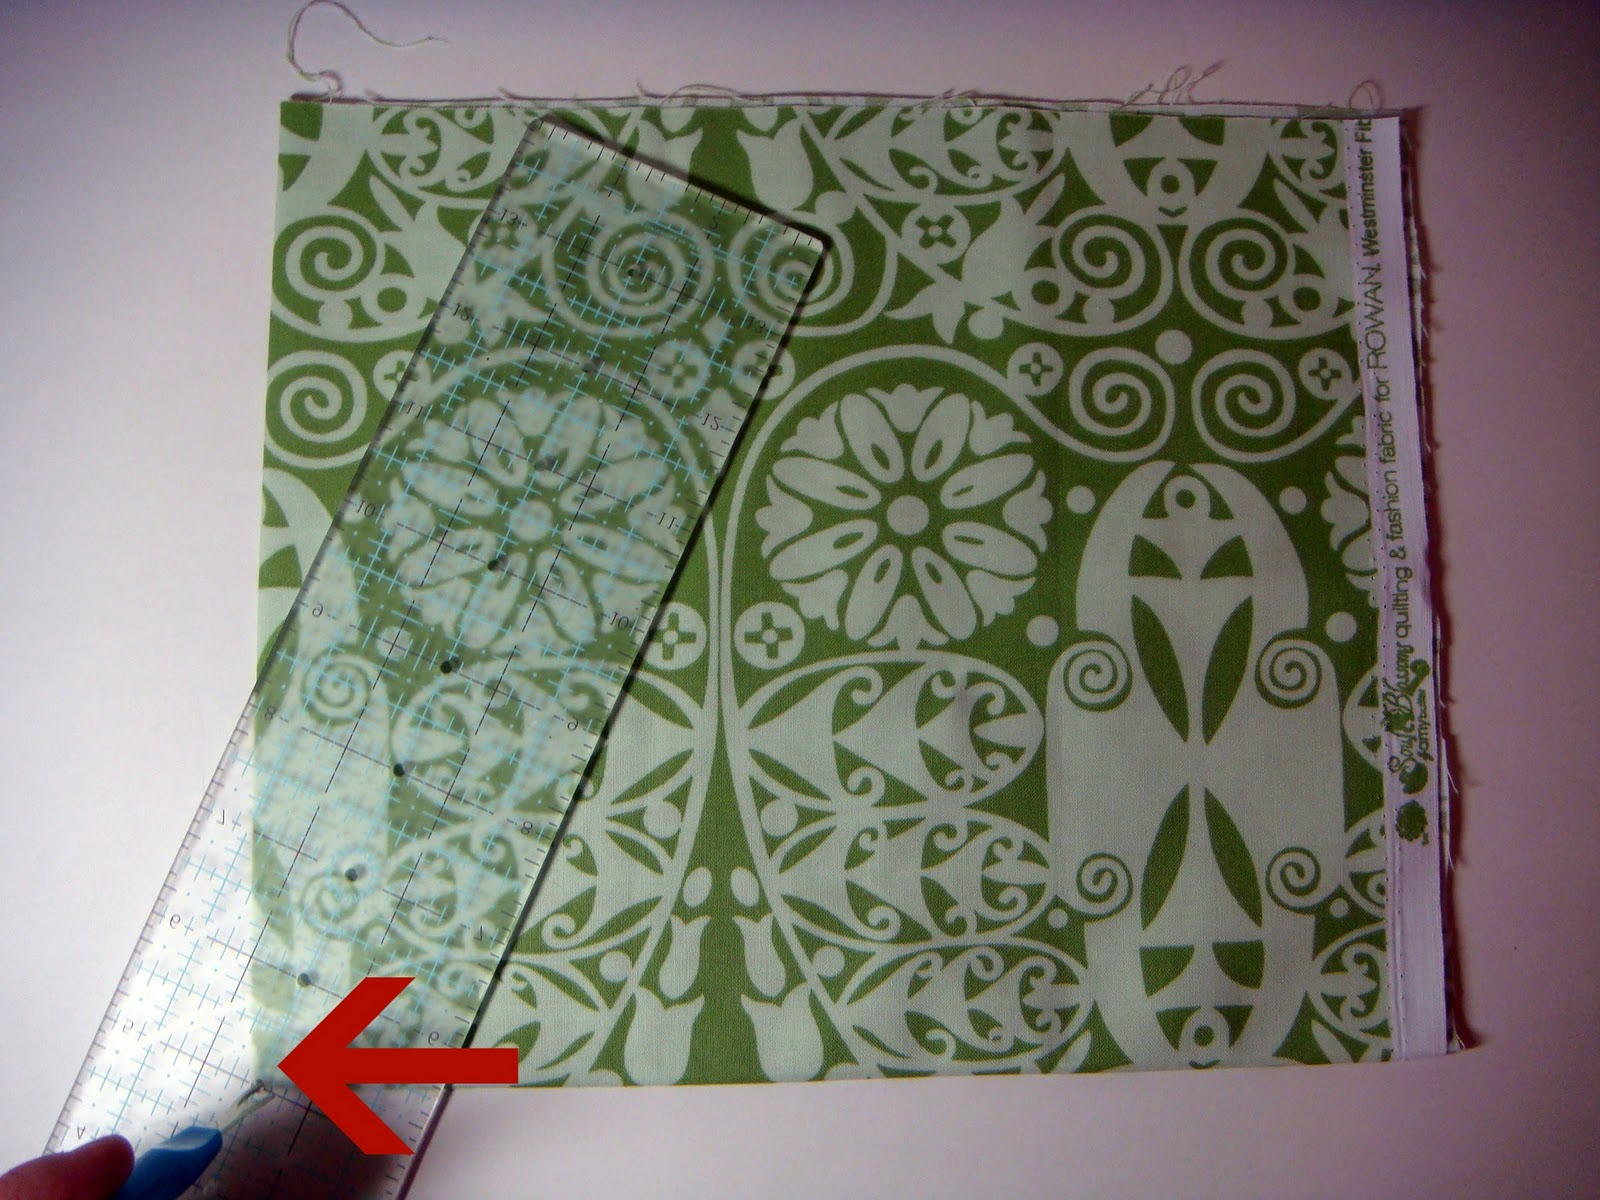
Step 2: Create a circle.
Make sure your folded edges are on the left and bottom. Place the ruler on the prepared fat quarter so the top left corner of the ruler is about 2" from the top left edge of the fat quarter.

Create a pivot point by placing the center of the ruler on the left bottom corner of the fat quarter.
 |
| Pivot point |
Place a fabric marker on the fabric at the top left point of the ruler and follow the line of the ruler down slowly pivoting the ruler until you reach the bottom of the fat quarter. My ruler has a hole in the center which made this easy. If yours doesn't than just inch it down making small marks as you go. Just make sure the ruler doesn't move off the pivot point.

Step 3: Cut out the circle.
Cut along the line you just created.

Step 4: Prepare bobbin.
Load a bobbin with the thread color you want showing.
Step 5: Finish edge.
Using a zig zag stitch with a short stitch length you are going to create a finished edge, or you can serge. If using your sewing machine fold over the edge of the fabric about 1/8" as you stitch your finished edge.


Step 6: Gather the top.
Add a gathering stitch approximately 3" from the top of the finished edge.

Pull the thread tight and gather until the fabric is completely closed.

Turn the bag inside out. You may need to tighten your gathering after it has been turned.

Step 7: Prepare elastic.
Stitch one end of the elastic to the bag along the gathered stitch and wrap the elastic around the edge.

Make sure the elastic is not twisted along the back.

Stitch other end of elastic in place.

Step 8: Attach elastic.
Sew elastic in place by pulling it as tight as you can and stitching all the way around. It's best to use a zig zag even though I didn't in these photos. You also want to make sure you still have the right color thread in your bobbin since it will show on the right side.

Step 9: Remove gathering stitch.
Turn your bag right side out and pull out your gathering stitch.

Step 10: Add ribbon.
Attach ribbon by placing a few stitches in the middle of the ribbon at the gathered edge.

Step 11: Stuff with goodies!
I wrapped my cookies in parchment paper then placed them inside. The elastic closes the bag nicely but to secure it tie a bow.


Merry Christmas!
I hope you are having a wonderful holiday season!


How pretty! Such a nice way to gift the treats. Very cute fabric too.
ReplyDelete